The Maker’s Journey: Iteration by Iteration
Phase 1: The “Straight-Line” Concept
The maker began with a simple, logical foundation: verticality and coverage. Using two upside-down crutches fastened to the wheelchair handles, he created a sturdy “rear pillar.” He then ran 160cm plant support bars from the crutch adjustment holes directly to the footrests.
• The Lesson: He realized that while parallel bars are easy to install, they create a flat roof. Rain doesn’t just sit on a flat surface; it pools, causing the shower curtain to sag and eventually leak.
• The Ergonomic Discovery: He also found that connecting the frame to the footrests created a “narrow gate,” making it difficult for the user to get into the chair.
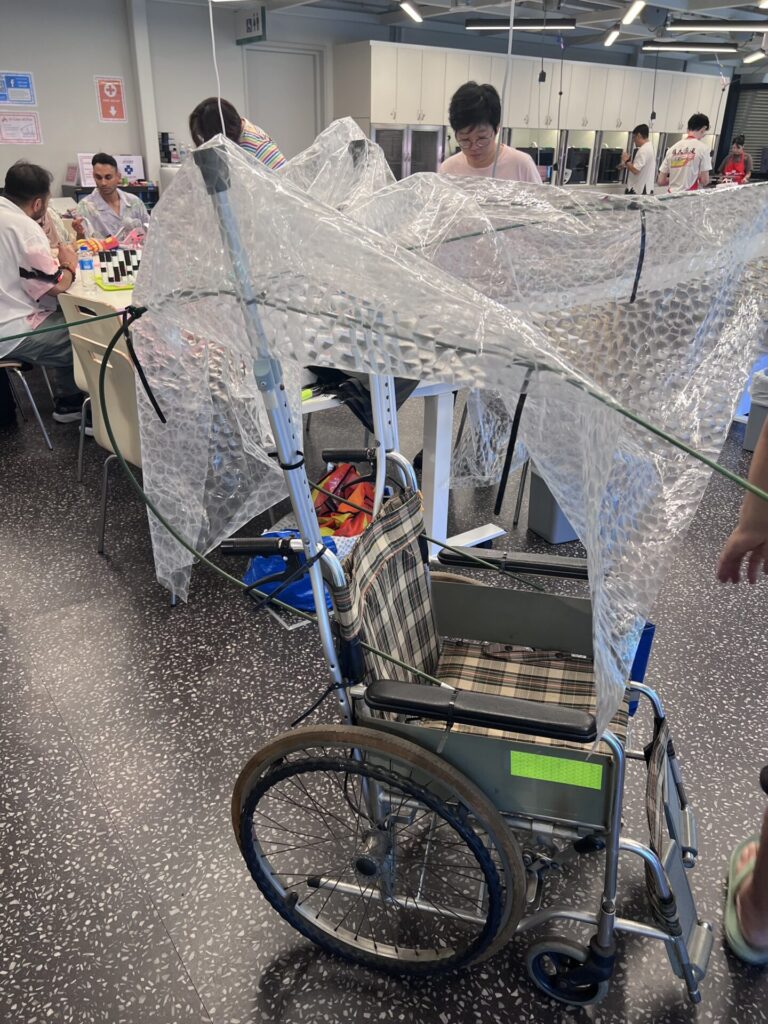
Phase 2: The “Convex” Breakthrough
To solve the pooling water, the maker experimented with geometry. By switching to longer (180cm) bars and crossing them into an “X” shape, he introduced tension into the frame.
• The Result: The “X” forced the shower curtain into a dome shape. Just like a professional tent, the convex curve allowed rain to roll off immediately.
• The Trade-off: While the “X” widened the entrance slightly, the frame was still anchored to the front of the chair, meaning a user couldn’t easily enter or exit without help.
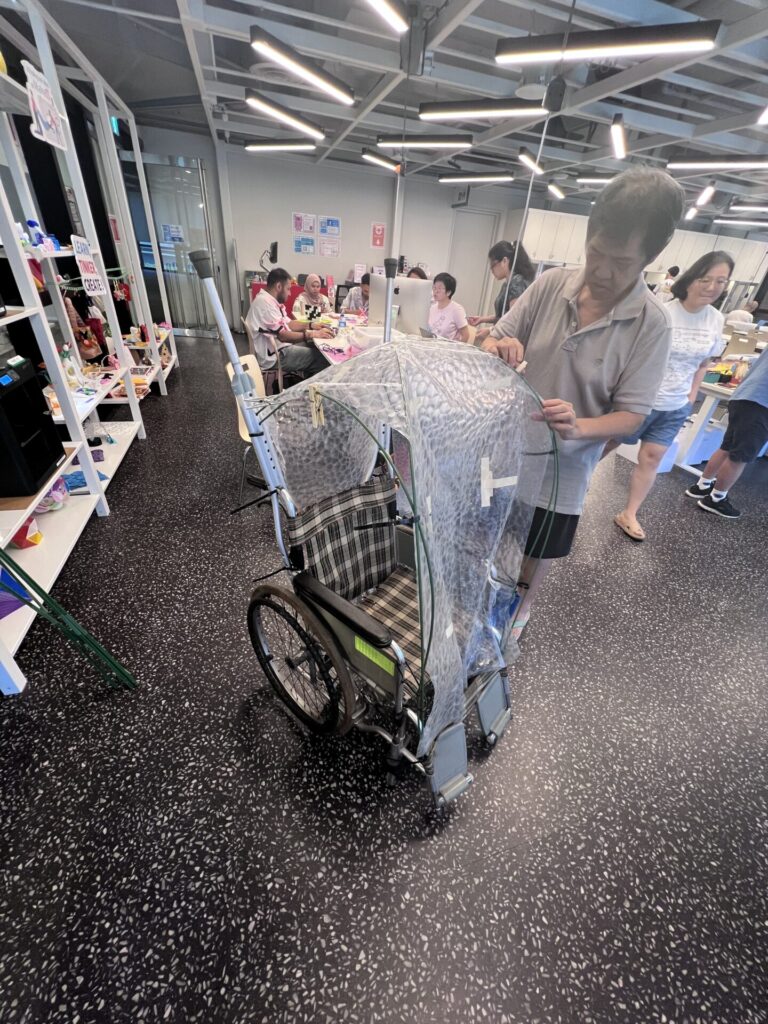
Phase 3: Prioritizing Independence
For the final prototype, the maker shifted his focus from “stability” to “accessibility.” He swapped the long plant bars for metal garden trellises mounted strictly to the rear handles.
• The Success: By removing the front anchors, he finally achieved an unobstructed entry. This was the first version that felt truly viable for someone operating a manual wheelchair independently.
• The Remaining Challenge: Without the front tension of the previous “X” frame, the sagging returned. This proved that in design, solving one problem (entry) often re-introduces another (structure).
How to Build Your Own (and Learn from the Process)
If you are looking to reproduce or improve this design, use this maker’s experience as your roadmap. Here is how you can approach your own build:
1. Start with “Found” Materials
Don’t buy expensive specialized parts. Look for:
• Structural Anchors: Old crutches or PVC pipe.
• Flexible Ribbing: Metal plant stakes, fiberglass rods, or even heavy-gauge wire.
• The Shield: A clear shower curtain is best because it maintains the user’s peripheral vision.
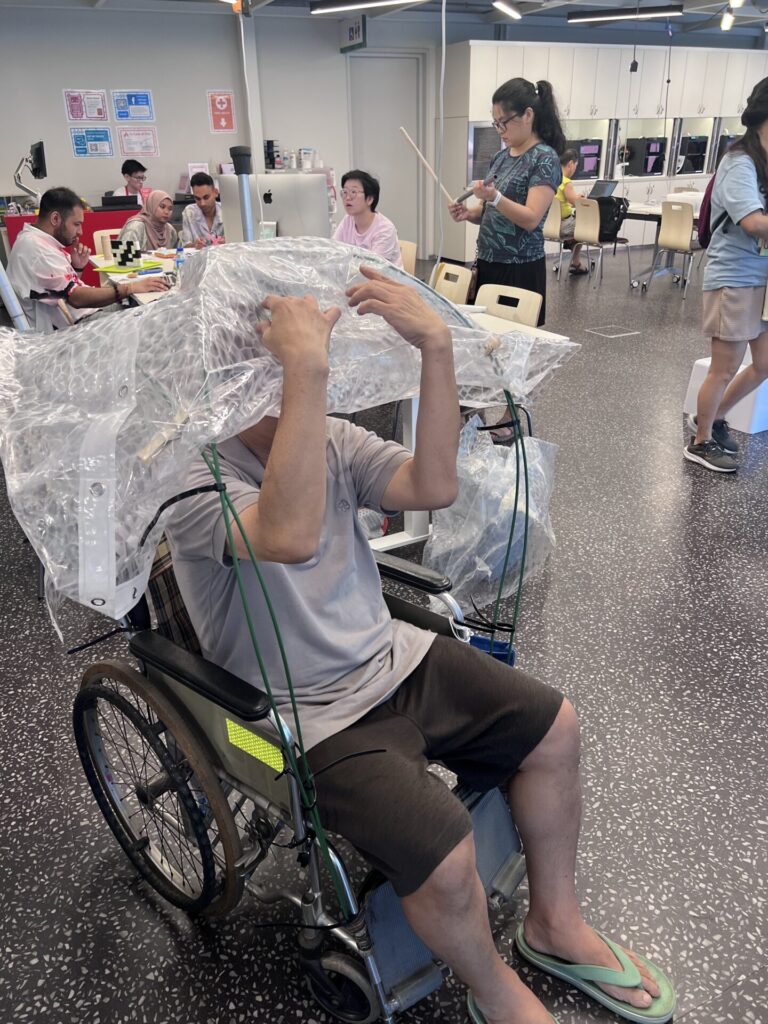
2. The “Dry Run” Test
Before you cable-tie anything permanently:
• Sit in the chair. Can you reach the wheels?
• Can you get out of the chair without tripping over a support bar?
• The “Trellis” Method (from Phase 3) is your best bet if you are a self-propeller.
3. Solving the “Water Pool” Problem
Regardless of your frame, you must create a curve. If your roof is flat, it will fail.
• Try This: If using the Trellis method, add a single “spine” or rib that runs from the center of the handles to the top of the trellis to force a peak in the plastic.
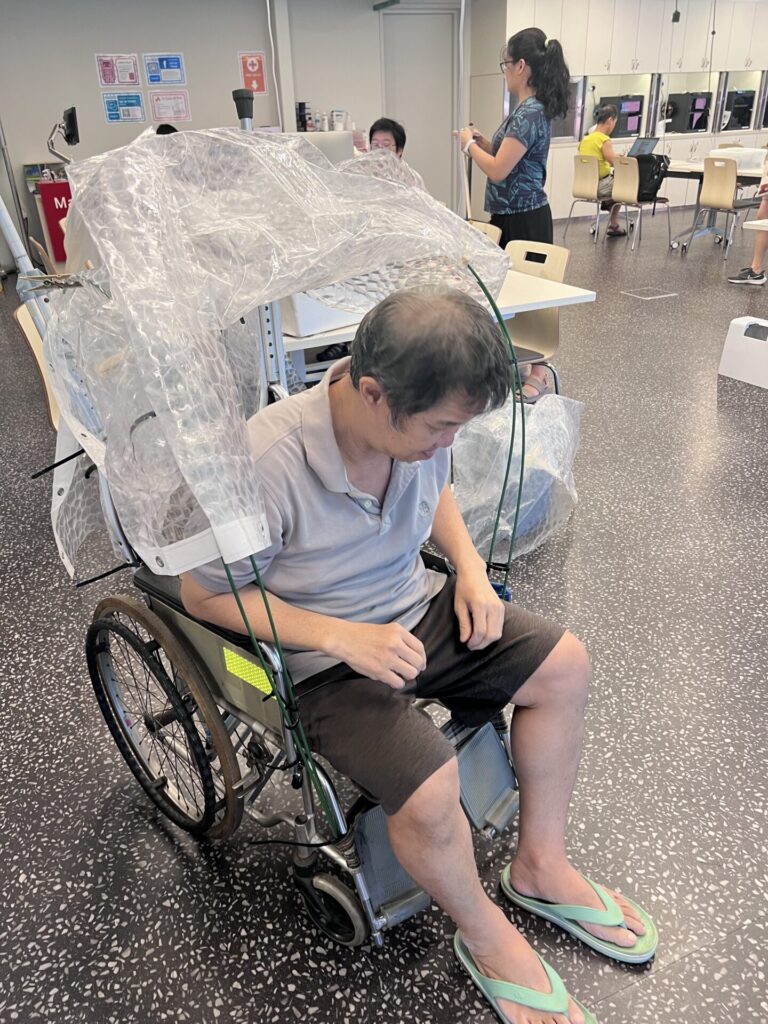
4. Protect the “Hidden” Areas
One of the maker’s smartest moves was draping the curtain over the back pocket of the wheelchair. When building yours, remember that water travels: if it drips off the back of the canopy, make sure it isn’t dripping directly into your storage bag or onto your brakes.
Consolidated and rewritten with the help of Gemini